AnnouncementsArt & CultureAwardsBFA StudentsClassContestsCultureDiscussionEventsFashionFashion JournalismInspirationInstruct/InfluenceInterviewsMFA StudentsMiscellaneousSan FranciscoSpecial ProjectsStudent SpotlightTechnology·April 19, 2016Fashion Journalism Program Heading To Weebly Finals
Alumni UpdateBFA StudentsSpecial ProjectsTextile Design·November 24, 2015Alumni Update: Michael Carbaugh
BFA StudentsEventsFashionFashion JournalismIndustry SpotlightMerchandisingOaklandSan FranciscoSpecial ProjectsTechnology·October 2, 2015Open Doors Open Minds
AnnouncementsbootcampDesignersDiscussionEventsFashionFashion Journalismfashion lawIndustry SpotlightInstruct/InfluenceInstructorsLectureLecture SerieslegalSan FranciscoSpecial GuestsSpecial ProjectsSymposium·August 19, 2015Fashion Law Bootcamp
Alumni UpdateAnnouncementsBFA StudentsContestsDesignersDiscussionEventsFashionIndustry SpotlightInspirationNew YorkSpecial GuestsSpecial Projects·July 31, 2015Alumni Update: Hanmiao Yang
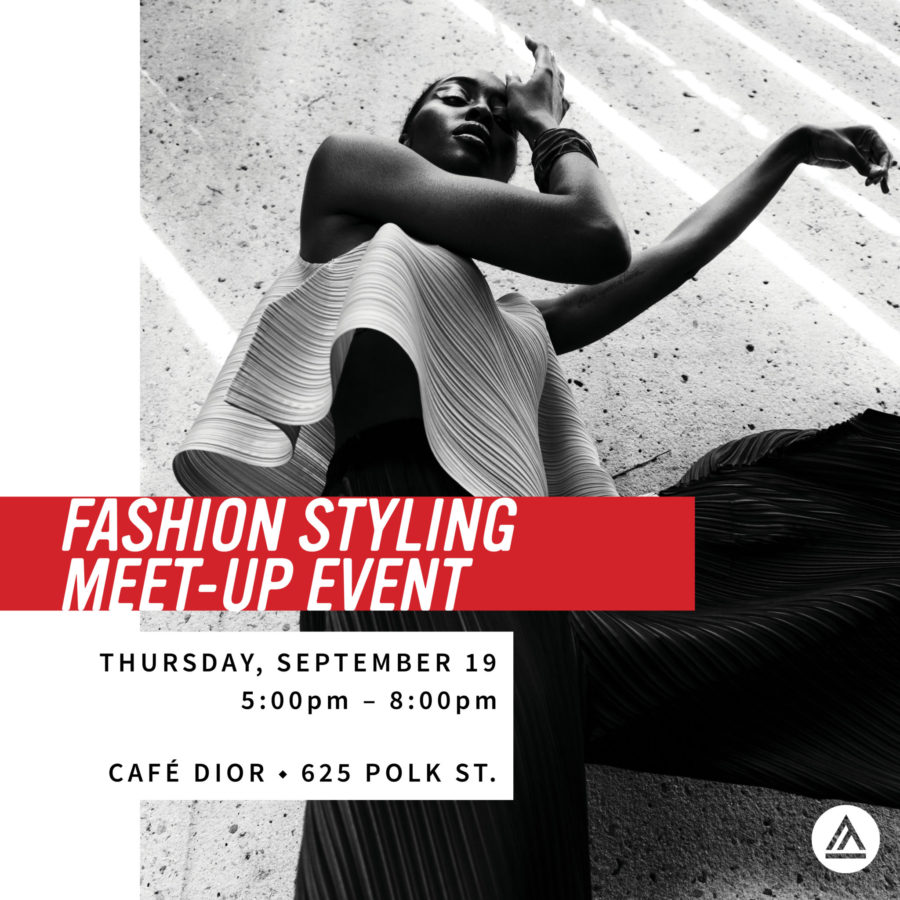
BFA StudentsEventsFashionFashion JournalismFashion StylingInspirationInstruct/InfluenceInstructorsLectureLecture SeriesMerchandisingMFA StudentsNewsSan FranciscoSpecial ProjectsStudent Spotlight·July 17, 2015ONLINE STUDENT SUMMER EXPO 2015
AnnouncementsArtArt & CultureAwardsContestsDesignersEventsFashionFashion StylingNew YorkNew York Fashion WeekSpecial Projects·July 15, 2015VFILES MADE FASHION IS BACK!
AnnouncementsCFDAIndustry SpotlightNew YorkNewsPress BookSpecial GuestsSpecial Projects·July 14, 2015Interview with Susan Scafidi, Architect of the World’s First Academic Degree in Fashion Law
AnnouncementsArtArt & CulturebeautyCultureDesignersFashionIndustry SpotlightInstruct/InfluenceMakeupNew York Fashion WeekNewsRunwaySpecial ProjectsStyleTechnologyTrends·July 9, 2015Five Historic Moments for FashTech
AnnouncementsArt & CultureDesignersEventsFashionNewsOaklandSan FranciscoSpecial ProjectsTrends·July 6, 2015Fashion & Sustainability: Two Upcoming Events